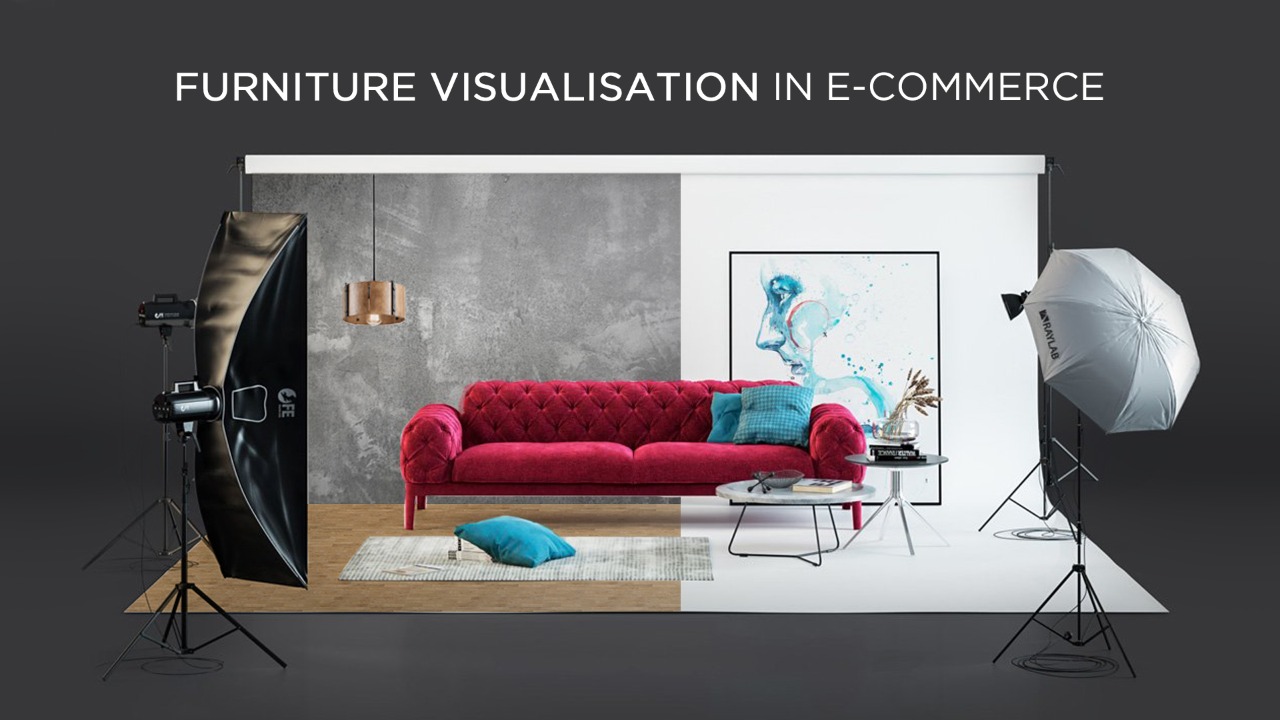
Imagine spending hundreds of hours to create a high-quality furniture product consisting of great features and still struggling to get enough eyeballs and sell it online. If your products are not demonstrated rightly, they will never get the attention they deserve. Furniture visualization allows you to do justice to your creation – by creating photorealistic and accurate images for presentation and advertising. It brings unmatched flexibility to your product images with the ease of changing colours, designs, textures, location environment and even shapes etc.
While you see leading eCommerce players create stunning images for their online stores, here are the various stages of what goes behind creating them.
Creating a 3D Model
The first step after conceptualization is to create a 3D model. For that, references such as photos, drawing or CAD files are required. Once the studio receives the references, modelling team starts creating the 3D models. At first, 3D artists create a 3D model of the product, which is basically a chunk of polygons. Once the 3D model is ready, the team implements furniture visualization to demonstrate the product in the desired attribute. Generally, 4-5 shots from different angles are good enough to show the details of any product and more can be done, if needed.
Setting up the Scene
Scene is created with the help of Computer-generated imagery (CGI) – which is half about the product and rest about the scene. Scenes are generally being defined in a manner that product is in the centre of the image. For instance, in a 3D furniture visualization of a living room, where sofa is the product, some appropriate props are required to be added – such as a well-defined wall with table placed in front of the sofa, a side table and lamp hanging around. You are free to choose whatever element you want to add that can complement the primary model – sofa. The props used can help customers visualize how the sofa can fit in their living room. Studios typically have their own library of pre-created scenes to quickly pick the best ones as per the requirement.
Applying Lighting
After creating the 3D model and setting up the scene, next step of 3D furniture visualization is placing and adjusting light sources. Lighting is a key element while creating a composition, so it requires careful placement of light and editing. Lighting mostly depends on the type of furniture and kind of room setup – like lights could be either warm or cold, and they could be natural or artificial. Lighting accessories like lamps, chandeliers etc. are tweaked to perfection by using software like 3DS Max.
Adding Realism and Texture
In the next step, objects are given skin, which basically means texturing of the objects. This is primarily done for 3D furniture visualization process, to make every texture of the object appear natural and accentuate the material quality of items. Surfaces like lamp covers are made reflective, so that they appear natural. Furniture visualization is aimed to create realistic photos for your products and adding realism to it is paramount.
Adjusting Colours
The last step is adjusting the colours to meet the desired visualization. Once 3D furniture rendering process is complete, 3D artists add decor elements to it to enhance the visual experience. Once the rendering is done, it is sent to photo editing specialists who make colour correction and add special effects with tools like Photoshop to deliver the final outcome – an eye-catching 3D visualization.
Like any other creative work, 3D virtualization requires you to follow a set of structured methods to deliver quality outcomes, consistently. While looking for new ways of representing your furniture products, product visualization is definitely worth of considering. It not only helps in boosting your online sale, but also provides your eCommerce business an extra edge over your competitors.